基于windows的NAS
关于本文的所有内容,可以通过搜索“WinNAS”来进一步了解。
😎 提示
不用鄙视WinNAS,我认为所有NAS系统之间都没啥太大区别(对普通玩家来说),适合自己的就行
另,这篇我是根据我自己的配置来写的,有些服务用不到你们可以跳过。
安装windows系统
参见【】,建议选“专业版”或“专业工作站版”
启用一些功能
搜索里搜索“功能”
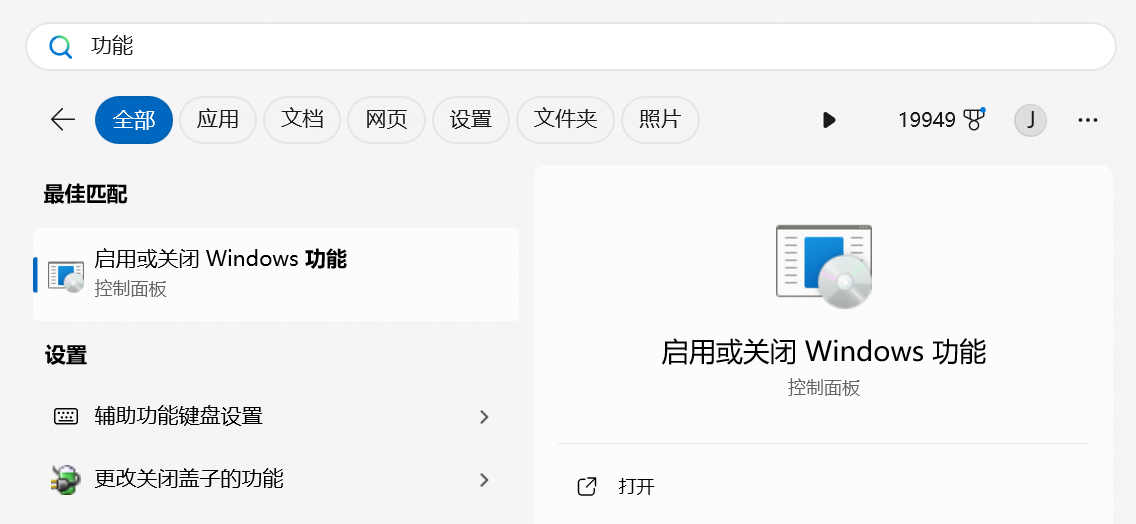
打开如下功能
- Hyper-v
- Windows虚拟机监控程序平台
- 适用于Linux的Windows子系统
- 虚拟机平台
安装wsl2
💡 提示
全程可以不用魔法上网
打开cmd,输入(目的是启用镜像网络,让外网能直接访问到wsl2)
echo [wsl2] > %UserProfile%\.wslconfig && echo networkingMode=mirrored >> %UserProfile%\.wslconfig && echo dnsTunneling=true >> %UserProfile%\.wslconfig && echo autoProxy=false >> %UserProfile%\.wslconfig && echo. >> %UserProfile%\.wslconfig && echo [experimental] >> %UserProfile%\.wslconfig && echo autoMemoryReclaim=gradual >> %UserProfile%\.wslconfig && echo sparseVhd=true >> %UserProfile%\.wslconfig && echo hostAddressLoopback=true >> %UserProfile%\.wslconfig
打开cmd,输入wsl --update
打开cmd。输入wsl --install
然后按引导完成安装(密码简单点就行,晚点会搞防火墙,没人能入侵的)
安装Docker
打开cmd,输入wsl ~,进入linux命令行
export DOWNLOAD_URL="https://mirrors.tuna.tsinghua.edu.cn/docker-ce"
wget -O- https://get.docker.com/ | sudo -E sh
安装完成后,执行sudo usermod -aG docker $USER,再执行newgrp docker
此时,如果能正常执行docker run hello-world,就说明安装成功了
让wsl2开机自启并保持常驻
按Win+R,输入shell:startup,在弹出来的文件夹里新建一个vbs文件(文件名随意:如abc.vbs),里面输入
更新ubuntu并安装ssh
打开wsl,依次执行